
Crafty Tuesday: End of the Year Teacher Gifts (5/24)
Most of us have been trying to come up with that perfect end-of-the-year teacher gift for your child’s teacher(s). I always struggle with deciding what to do for my daughter’s preschool teachers when it comes to gifts, but I am pretty happy with what my daughter and I came up with for this year’s gifts. These are both pretty inexpensive gifts to make!
Crayon Picture Frame
SUPPLIES:
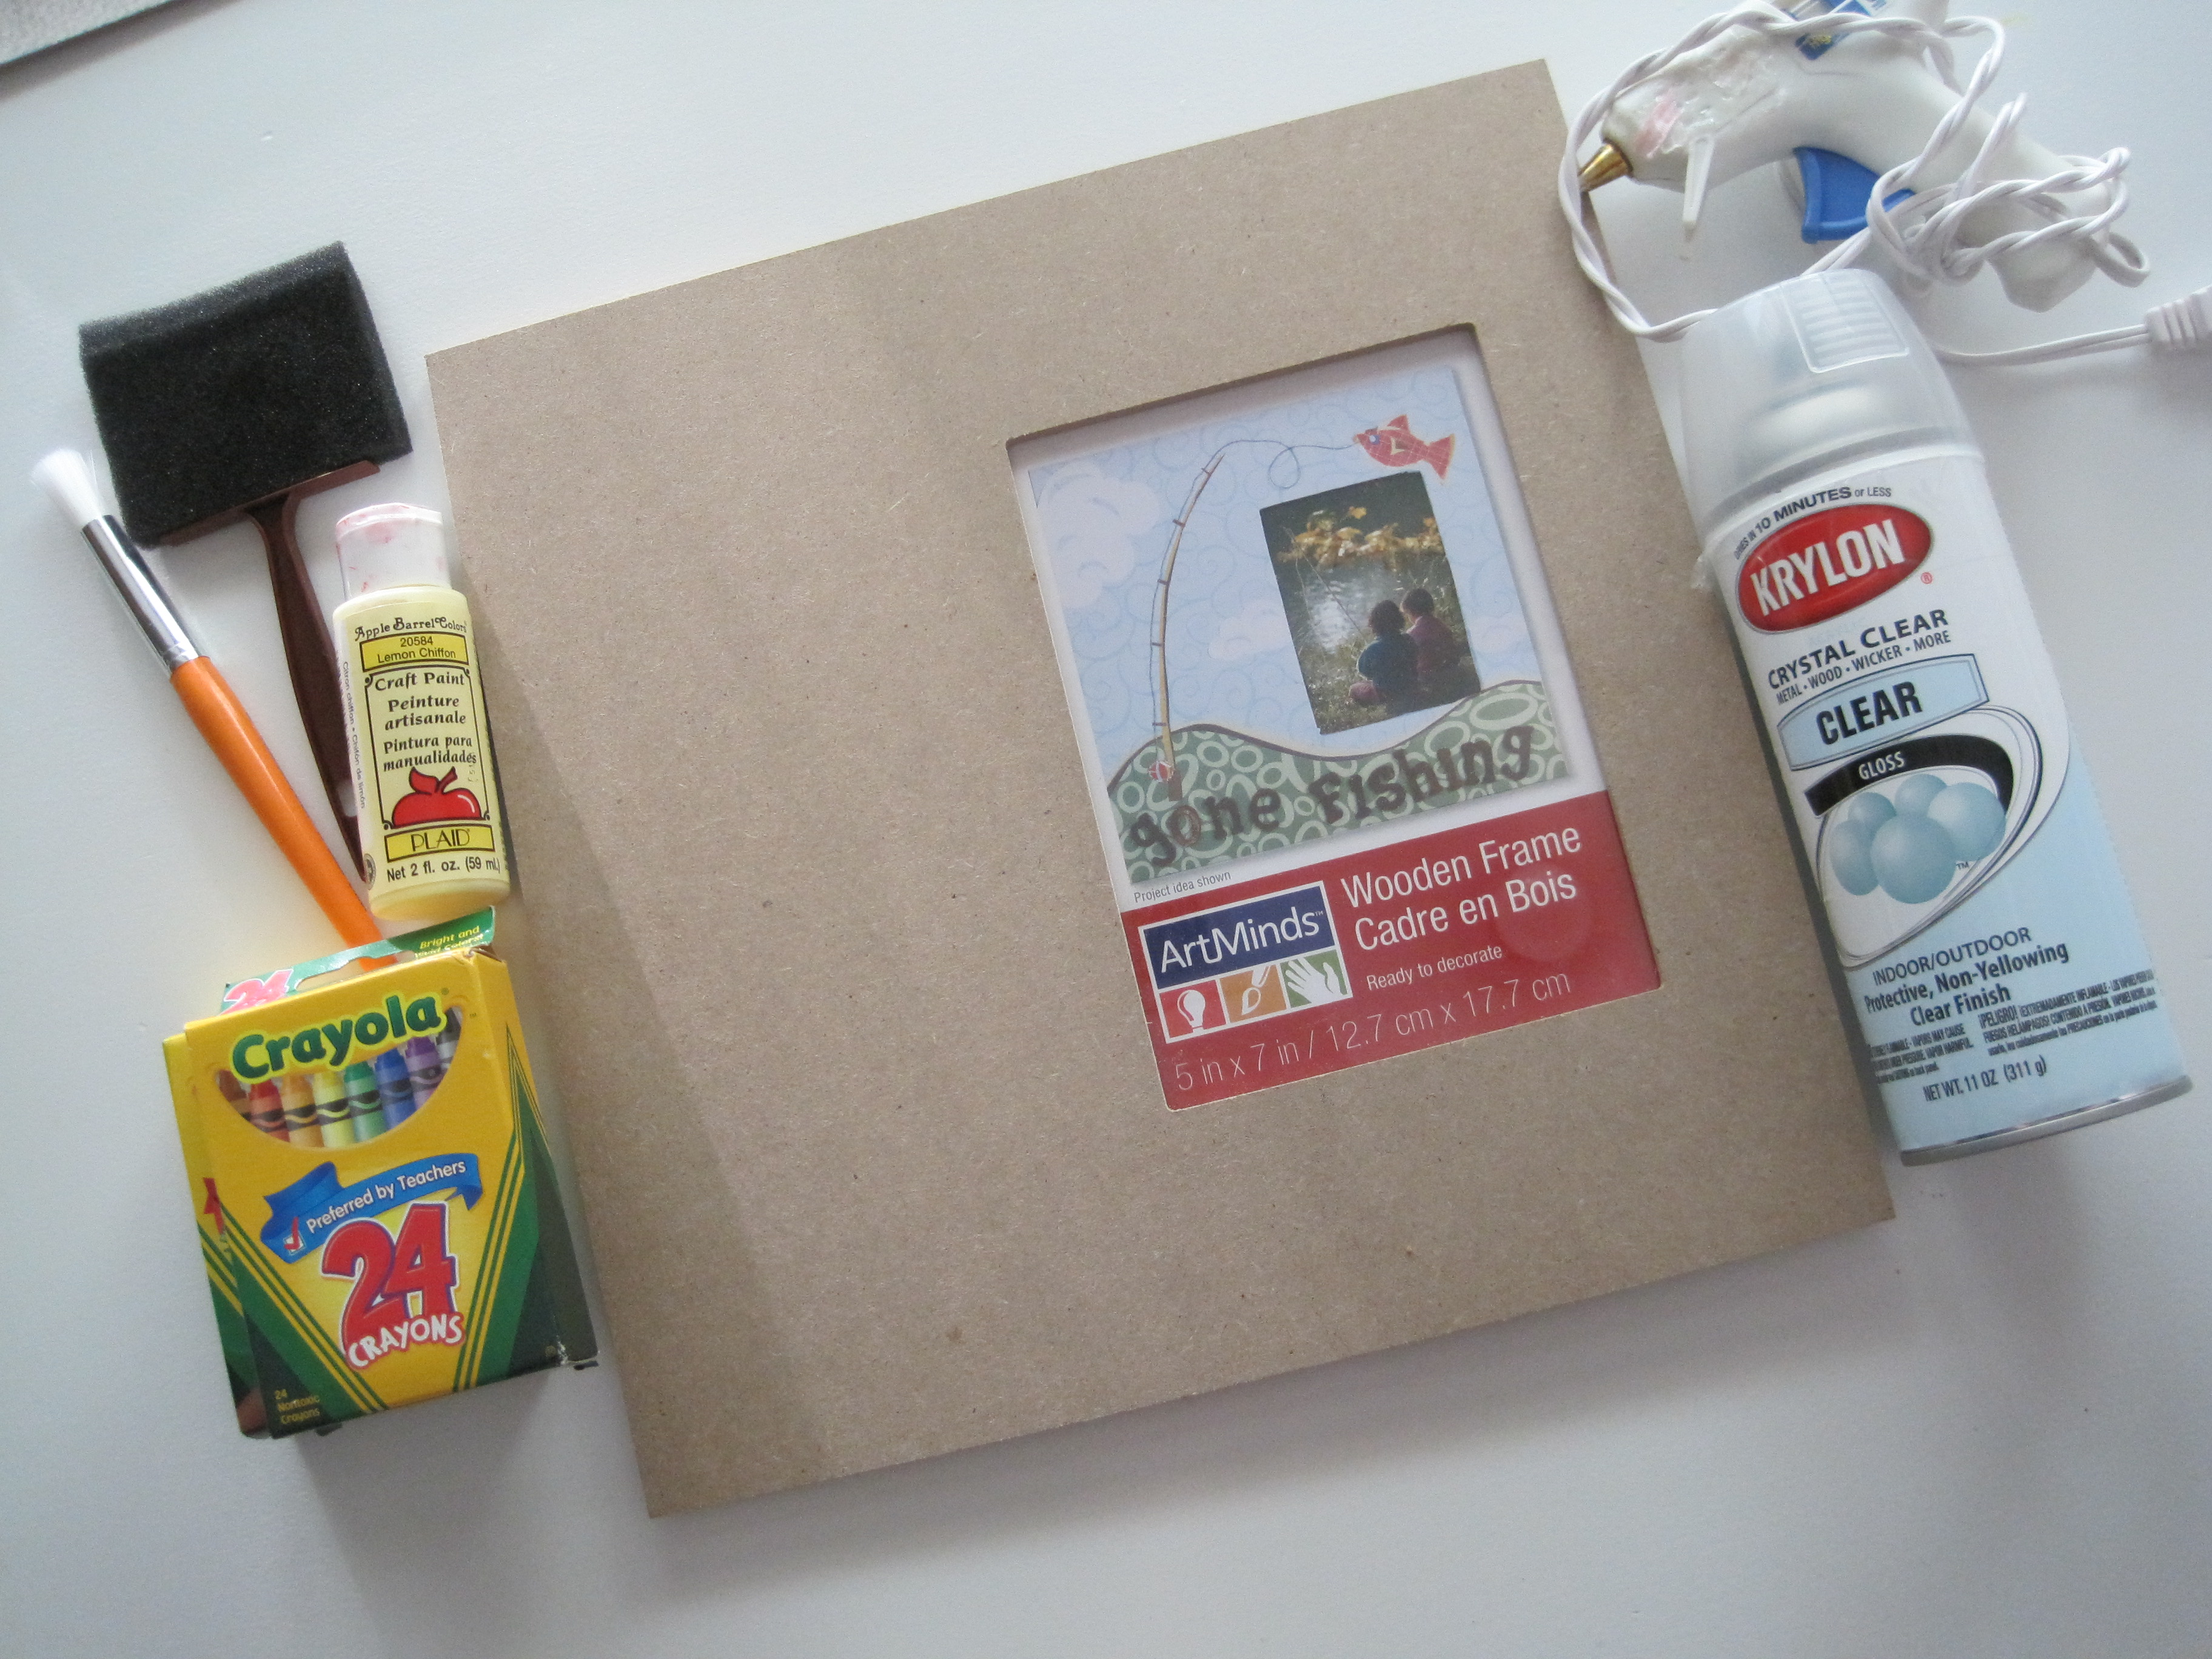
- Box of Crayola Crayons
- Picture Frame with extra spacing on at least one side.
- Hot Glue Gun
- Paint
- Scissors
- Large Letter printed from computer or by hand to use as a stencil
- Clear Finishing Spray
DIRECTIONS:
- If you are using an unfinished picture frame, paint the picture frame and allow time to dry. Make sure you remove the glass/plastic where the picture will sit to avoid any paint from getting onto that.
- Print out a large letter in bold print from your computer and then cut it out. This will be your stencil to help you make the letter with the crayons.
- Glue your “stencil” letter to the exact location you want your Crayon Letter to be located.
- Piece together the pieces of crayon over the letter, covering up the entire stencil. The easiest way to lay them out is have all the crayons laying horizontally and just break them if they are too long. I used scissors to begin to make an indention where I wanted them to break and then broke them with my hand. DO NOT GLUE THEM UNTIL YOU HAVE YOUR ENTIRE STENCIL COVERED AND ARE HAPPY WITH THE LOOK!
- Using a hot glue gun, lift one crayon at a time and adhere it back in place with the glue.
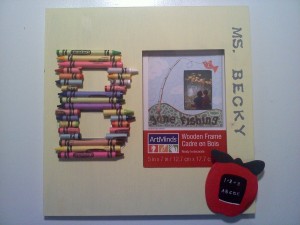
- Once your letter is finished, you can embellish the frame as you wish. My daughter and I added the teacher’s full name using stamps and ink and then added an extra touch by using the little wood characters.
- When you are happy with your frame, spray a layer of clear over top the entire frame and crayon image to give it a finished look.
- Replace the glass/plastic covering and place a picture of your choice inside!
“Teachers Help Children Grow” Finger-Paint Flower Pot
SUPPLIES:
- Ceramic/clay pot (These are typically only $0.59 to $1.29)
- Paint
- Marker
- Flowers or plant to place inside pot (We bought ours for $0.60/each at Walmart. Two flowers per pot work perfectly, making a grand total of $1.20 for the flowers.)
DIRECTION:
- Paint a base color on the pot and allow to dry.
- Pick a few colors for the flowers and make small puddles of each color on a paper plate.
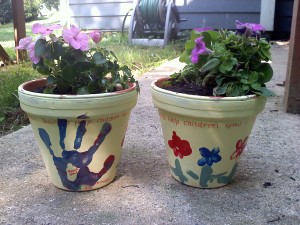
- Have your child dip their thumb in one color at a time and form flowers using their thumbprint. Each thumbprint should be one petal.
- Once all the colorful flowers are created, have your child take their pointer finger and drag their finger down from the flower to form the stems.
- My daughter added her own touch and asked that we put her handprint on one side of the pot so we left room for that and did that last.
- Using marker, write a border (we put ours on top) saying, “Teachers Help Children Grow” around the pot.
- If you choose to do the handprint on one side, we wrote “Thank you!” in the handprint and signed my daughter’s name and the year so the teacher would always know who made her the pot.
- Plant your flowers or plant inside once the pot is dry.
** As an additional embellishment, you could make a paper flower and place your child’s picture inside the center Glue a popsicle stick to the end and stick it in the dirt to stick up over the plant or flower. You could write, “Thank you for helping me grow!” on the flower.
As I said before, each of these gifts was very inexpensive. If you plan ahead, you can stock up on cheap crayons at the beginning of the school year for the crayon picture frame. We had plenty left from the stock I had acquired at the beginning of the year. The picture frame was $4.99 at Michaels, but once you use a 40% coupon from the Sunday paper, it’s pretty cheap! The flower pot project was even cheaper with the pot only being $0.99; flowers $1.20 total and I had all the other supplies for painting, etc on hand! These were pretty easy and lots of fun to make! I hope the teachers enjoy them as much as I enjoyed making them with my little girl!
Please note: If you have any trouble understanding my directions, be sure to email me. I have step-by-step pictures, but I’m having computer issues and my computer keeps freezing when I try to upload the numerous pictures for you!
 Leandrea is a married mom of two girls, ages 13 and 12, living in Atlanta, GA. She is passionate about helping people save money one coupon at a time. Read more