
One of my goals since I have started nesting (ha,ha) is to get everything that is unorganized and just shoved into drawers organized and orderly. That included my daughter’s “hair” drawer that included all her headbands, rubber bands, hair bows, hair clips, etc. and that lead to a Hair Accessories Wall Hanging Organizer. I wanted something that would be easy to find what we were looking for on a particular day instead of digging through the drawer of endless hair items. What a bonus when I figured out what I needed and wanted could turn into a crafty afternoon project! There are a lot of steps to this project, but it’s pretty easy and fun, and you really don’t have to do all the steps we did. It just depends on what your goal is and what you need it to hold.

Mandatory Supplies:
- Thumbtack/Corkboard (or some type of piece of wood or old dry erase board, etc that can be your firm surface and allow you to hang it from the wall with stability. I purchased an old corkboard for $1.00 at Goodwill for this project!)
- Aprox 1/2 yard (really the size depends on the size of your board) fabric
- Ribbon (preferrably 1.5 inches)
- Hot Glue Gun and/or Nail gun (We used both to ensure it was secure)
- Needle and thread/sewing machine* (It is possible it may hold and work with hot glue if you aren’t equipped to sew.)
- Scissors
Optional Extras we used:
- Flowers
- Buttons
- Extra material for pockets
How-To Instructions (I apologize for the lack of pictures. I took 12 pictures of the different steps, uploaded them, deleted them from my camera, and then discovered only four had transferred (the last four I took). Feel free to email me if you need a better description of one of the steps.):
- Lay out your board that you are using for the support and lay the fabric over it. Make sure to leave about 1-2 inches that will be able to fold over onto the backside of the board on each side and then cut your fabric out. I chose to double-layer my fabric just so I had extra support, but this is not neccessary.
- Once you have your fabric cut, start cutting strips of ribbon. Make the ribbon as long as the length of the fabric square or even an inch or two longer. We did five strips of ribbon for our board, but again, this is a personal preference and depends on the size of your board.
- Temporarily lay out the ribbon how you want it displayed and pin the top of the ribbon flush with the top edge of the fabric.
- Sew each ribbon horizontally only about 1/4 inch from the edge of the top of the fabric.
- Now you need to sew the bottom edge of your ribbon. *** MAKE SURE YOU DO NOT ATTEMPT TO SEW VERTICALLY DOWN THE RIBBON. THIS WILL PREVENT THE RIBBON FROM BEING ABLE TO HOLD CLIPS, HAIRBOWS, ETC IF IT IS ADHERED ALL THE WAY DOWN. If you have headbands you want to hang like we did, you will want to fold the edge of your ribbon under forming a loop and sew about three inches above the bottom of that fold. I sewed the ribbon to the fabric at the same time as I formed the headband holding loop.
- Once you have the ribbon adhered to the fabric, you will be able to adhere the fabric to your board. Start with the bottom of the fabric and board where your loop is. We want the loop to hang off the board so you need to position your fabric so that the edge of the front side of the board is lined up with the seam you sewed to form each loop.
- Ahere all four sides by folding the material back behind the front of the board. I hot glued each side down and then went back and used the nailgun on the back surface of the board to ensure it is sturdy and holds up.
Your board is now complete. If this is all you want to do with it, you can call your project good and get it hung and loaded with all the wonderful accessories you have! We chose to go one step farther (or maybe two) and add pockets to our board. This is where having a corkboard came in handy. The pockets will hold all my daughter’s rubberbands we use to put her hair up.
Making a Pocket:
- Determine the size you would like your pocket to be. We chose to make it fit between our ribbon lines and, therefore, made it aproximately 2.5-inches wide and 4-inches long. Cut the amount of fabric neccessary.
- Fold the fabric in half to form the pocket and then sew the horizontal seams, folding the edges under to hide the raw edge. I chose to not make my equal height as I wanted the back to be higher than the front to hold up with a thumbtack.
- Make sure you can see the raw edges of your horizontal seams when you sew the vertical seams next. In other words, you sew the vertical seams “inside out” so you can flip the pocket right-side up and have no raw edges. (Does that make sense? I’m not very good at explaining this part!)
- Flip your pocket right side up and you have a finished pocket!
- Using a thumbtack, you can place it anywhere on your board you would like! If you used a board that will not allow a thumbtack to stick through it, you could always have sewed your pocket in place before you adhere the fabric onto the board. I wanted this to be removable, which is why I chose to do the thumbtack.
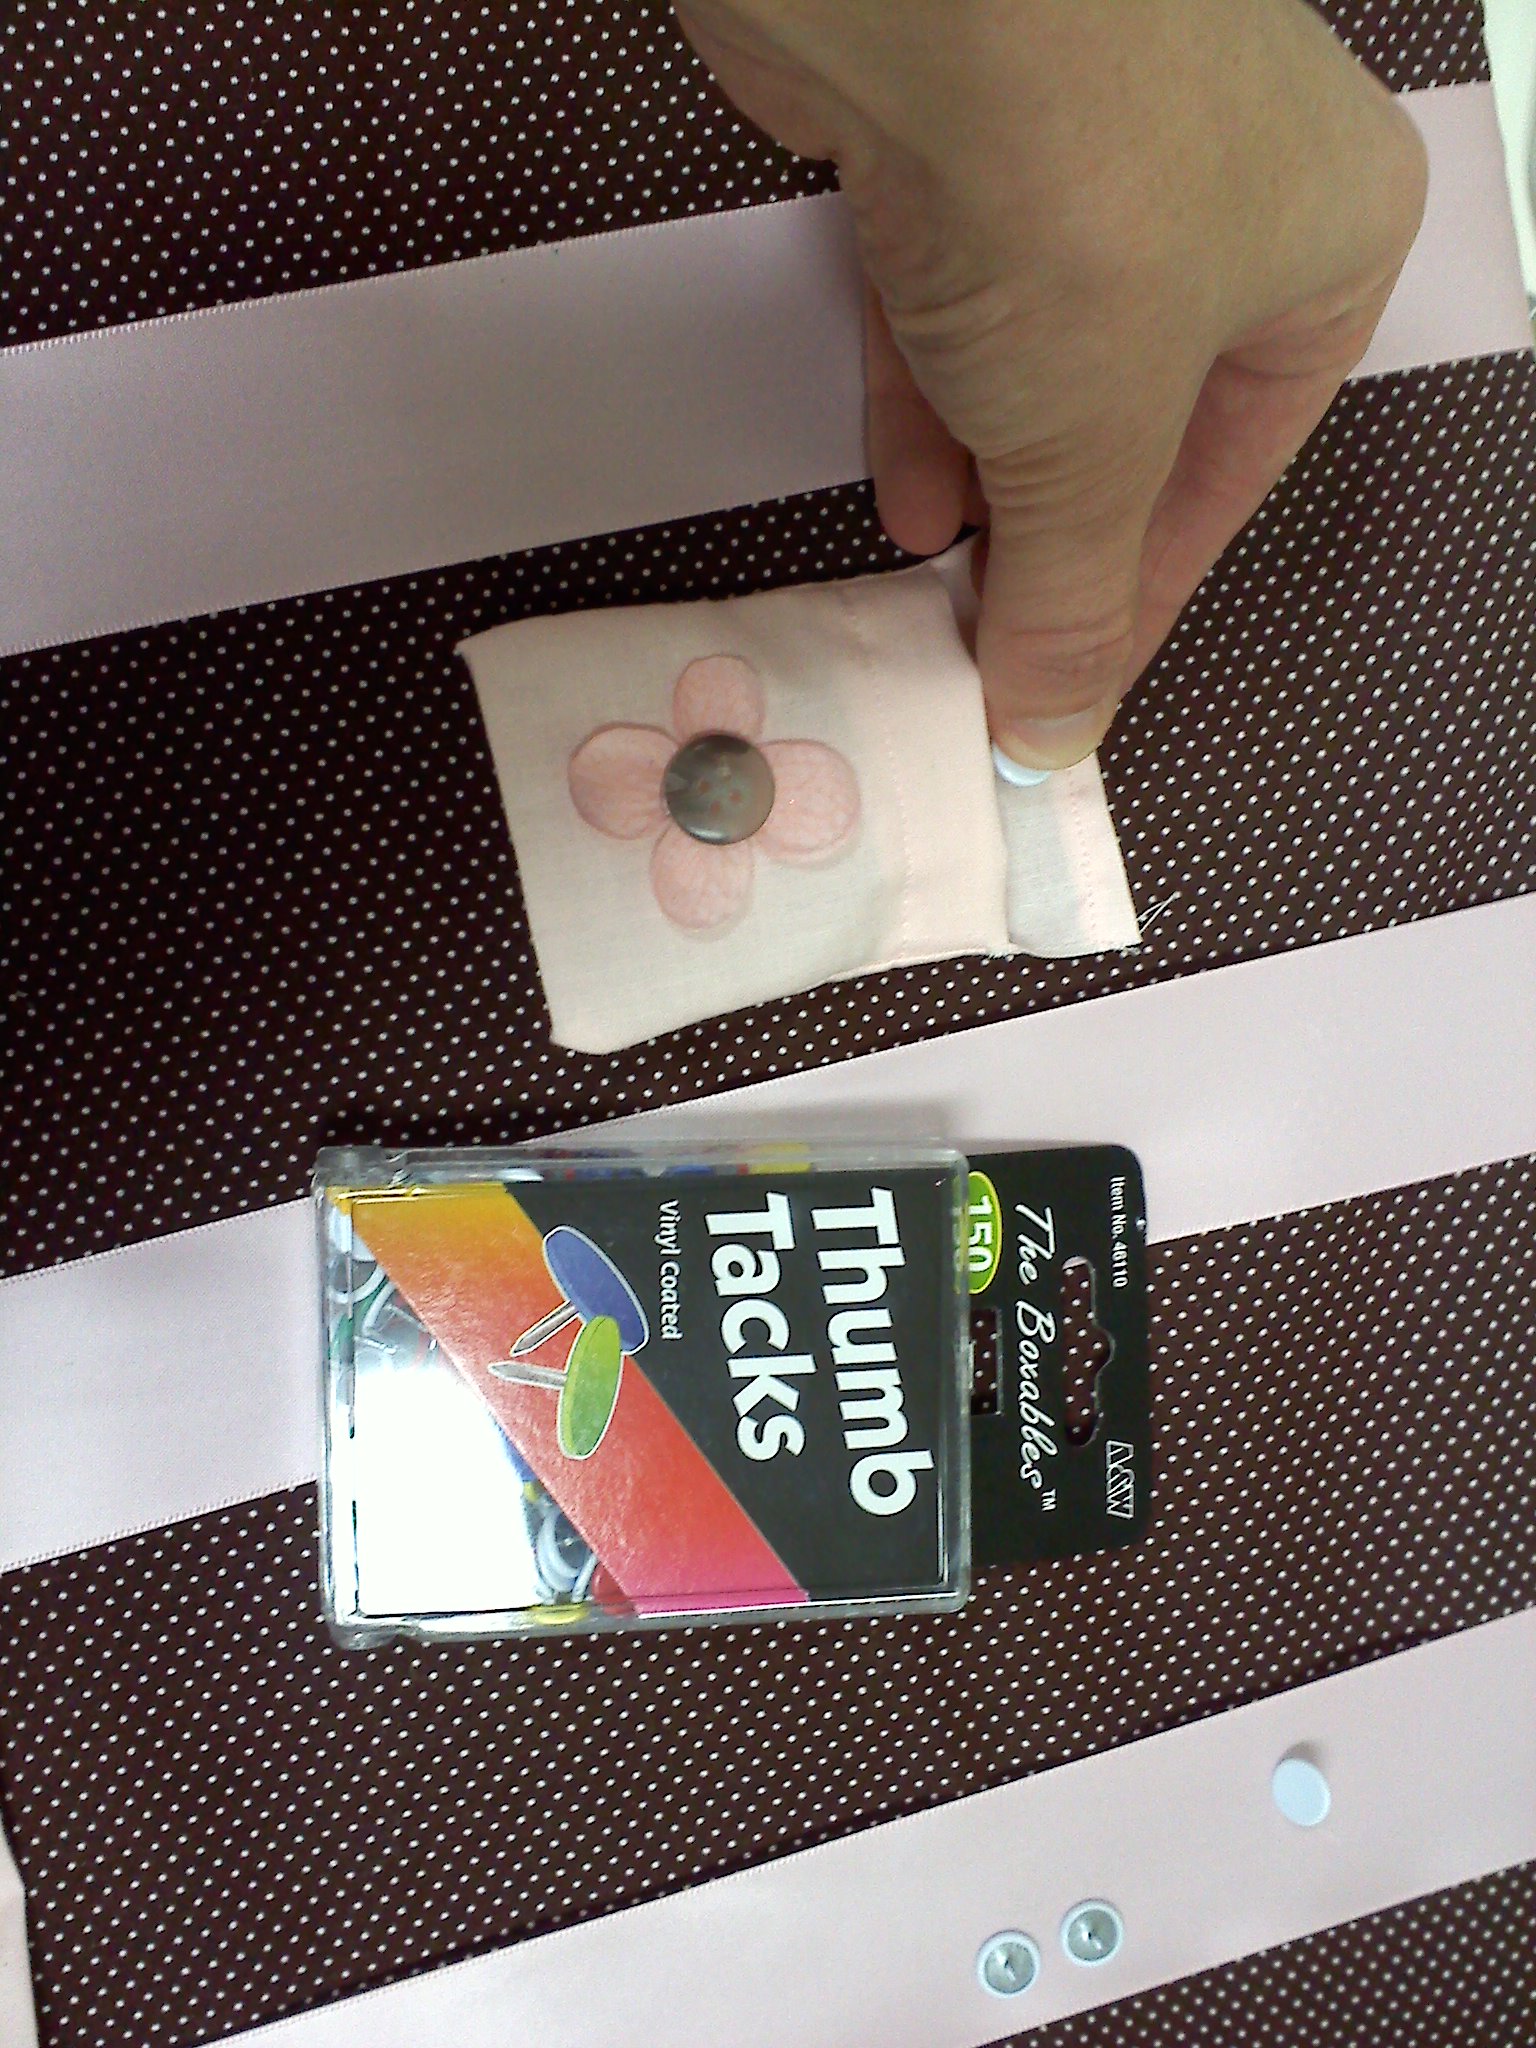
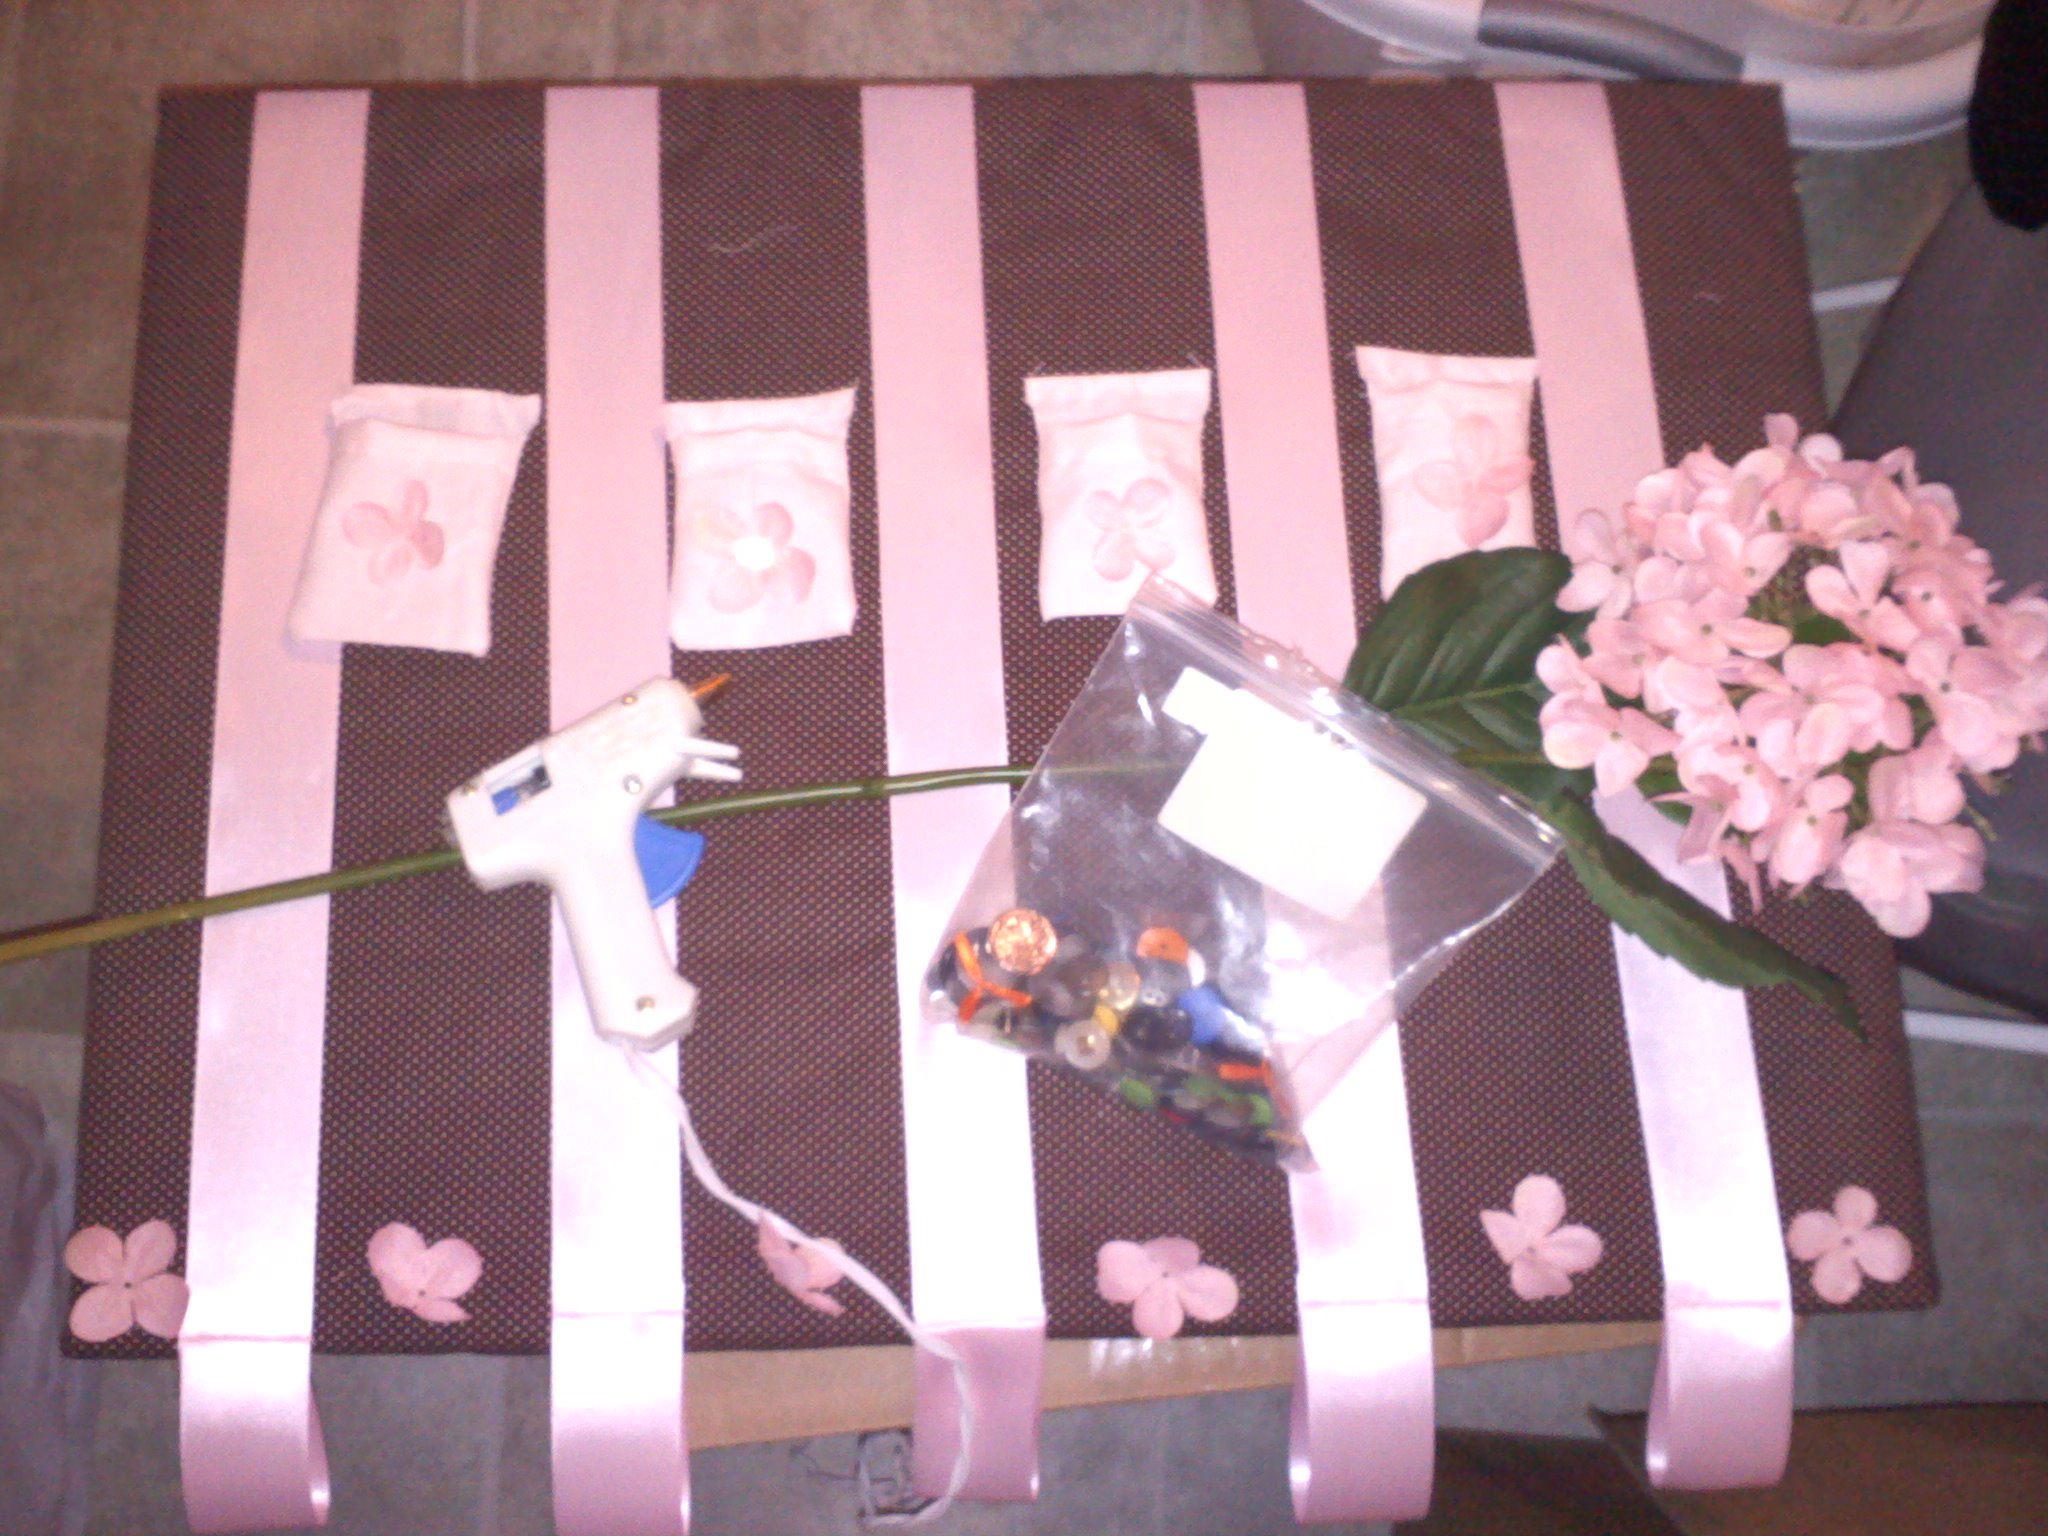
Again you can be done. We then added another step and decorated both the board and the pockets with little flowers that we pulled off a fake flower plant and put old buttons in the middle of each. We adhered all of this with hot glue.
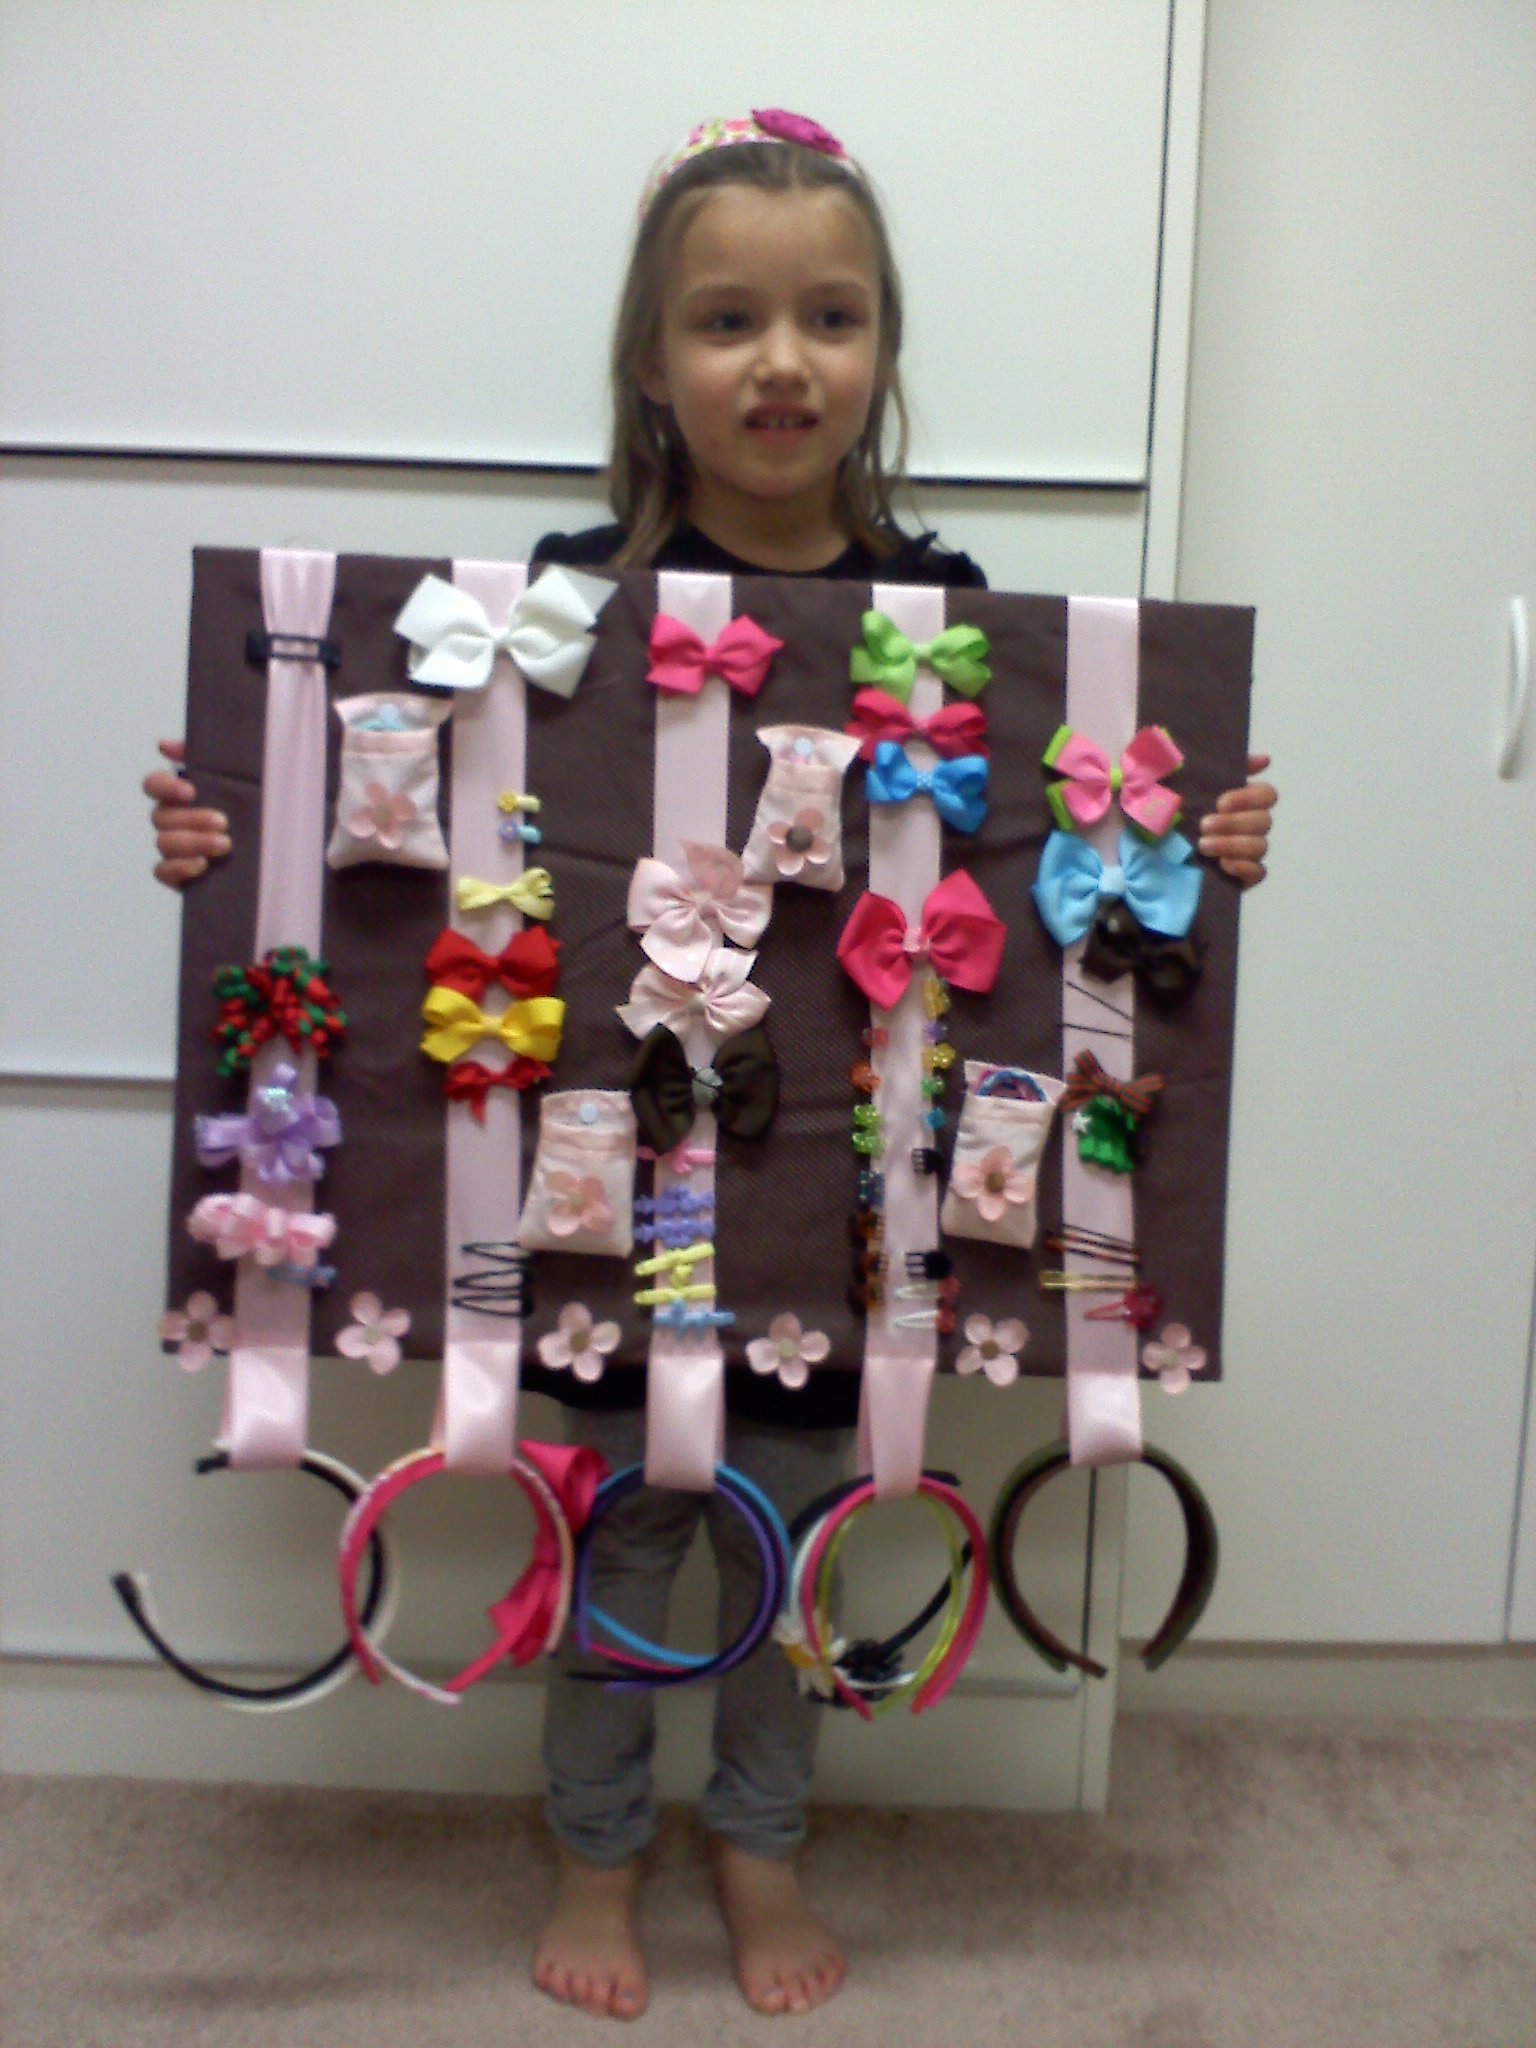
Your last step is to add all your accessories and hang it up for all to view! We are putting my daughter’s on her closet door, but we haven’t had a chance to do that yet (That’s Daddy’s job) so she held it up to show everyone our final product!
Disclosure: While I love to craft, I have to admit that I lack in the ability to do anything in a straight line, and because of this I would not say I’m a perfectionist when it comes to crafting. Because of this, you may notice my ribbons did not end up being perfectly straight in this project. For those of you that are perfectionist, I apologize for my lack thereof.

We love crafting! Be sure to check out our Craft Posts for more ways to create fun, frugal crafts and projects at your house!
 Leandrea is a married mom of two girls, ages 13 and 12, living in Atlanta, GA. She is passionate about helping people save money one coupon at a time. Read more
oh gosh, i love this!! now i need to decide what i’m doing for bedding.colors for the girls’ room this summer so i can make them to match!! i love the loops for headbands!
I’d like to make something like this someday. I need to get a hot glue gun.
Jessica! This is such an adorable craft and just the motivation I need to make one for the girls. I can’t make a line straight either!