
Visits from the Tooth Fairy are a very special time. For this mom with a sewing machine this momentous occasion couldn’t merely be celebrated with the placement of the lost tooth under a pillow. Oh no, we needed a very special Tooth Fairy Pillow! I hope you enjoy this Tooth Fairy Pillow Tutorial.
![]()
Materials Required to Make a Tooth Fairy Pillow
- Fabric – design of your choice + white fabric or fleece (I used fleece)
- Thread, Needle, Pins
- Sewing Machine (Optional, but incredibly nice)
- Ribbon
- DMC Thread
- Stuffing
Tooth Fairy Pillow Tutorial
- Find a tooth template or draw a tooth. I used this tooth template scaled down to 70%
- Pin the template to your white fabric and cut
- Using the DMC thread and a needle create eyes and a mouth onto the fabric tooth
- Create two squares with your fabric
- Sew the fabric tooth onto the front side of one of the squares. Leave the top open so your child can tuck the lost tooth in and the Tooth Fairy can leave her present in place of the tooth
- Turn the fabric right side together and sew three edges, leaving the top open
- Fill with stuffing
- Turn the edges of the top under. Pin the ribbon in place.
- Sew the final edge of the pillow

While you are awaiting the Tooth Fairy to come to your house here are some great resources to help your child get ready:
- Tooth Fairy DVD
- The Night Before the Tooth Fairy
- Tooth Fairy (Child’s Play Library)
- Throw Your Tooth on the Roof: Tooth Traditions from Around the World
- My Wobbly Tooth Must Not Ever Never Fall Out (Charlie and Lola)
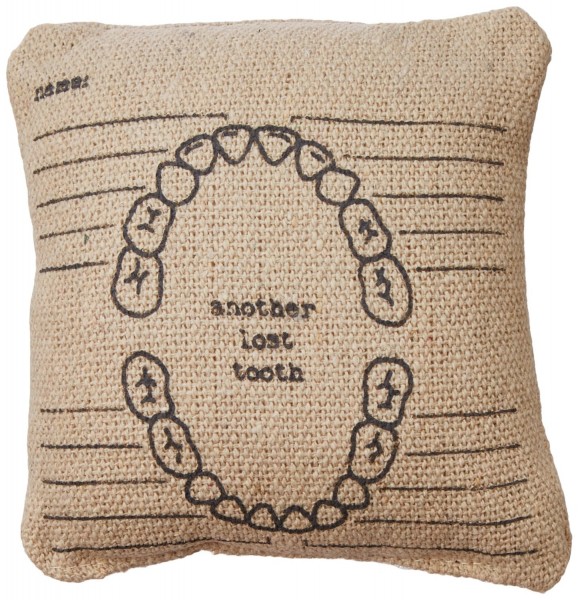
This tooth pillow is a great way to keep track of all those lost teeth!

And isn’t this tooth pillow shaped like a tooth adorable? It is also available in blue.

Here’s to hoping that THIS loose tooth falls out soon!

Over the years we have started to use our very own Tooth Fairy Letterhead and my girls LOVE it! We love sharing, so you can print this to use at your own house.
![]()

Don’t miss the latest and greatest. Sign up for our daily email.
 Leandrea is a married mom of two girls, ages 13 and 12, living in Atlanta, GA. She is passionate about helping people save money one coupon at a time. Read more